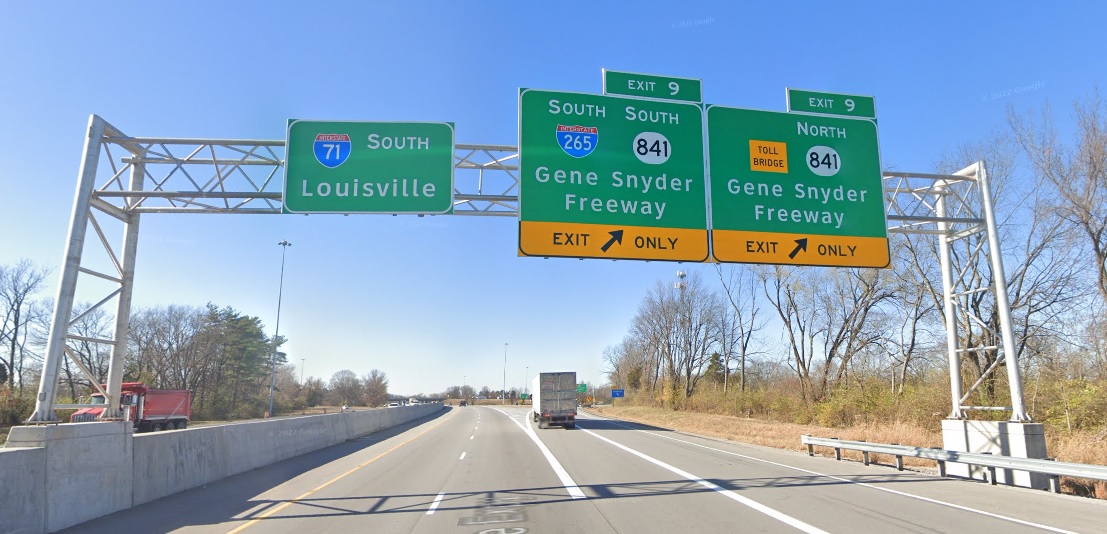
So far we’ve talked about why civil engineers should use VBA, how to get started in VBA, and my first time using VBA in my career. Now let’s go over the most recent job I’ve done for work using VBA and see how far it’s come! This article is about designing the structures that hold up the signs you see when driving on the interstate.
The Problem
Like many states, Kentucky has standard drawings available for sign structures. The structures can be standardized fairly well, and it’s often not desirable to pay for an engineer to do a custom design for one. Additionally, this is an uncommon structure type for many structural engineers to work on, so standard drawings, which spell out member sizes and details within a certain span range and sign size, make a lot of sense.
Kentucky’s sign standards have been around a while and were designed according to the AASHTO Standard Specifications for Highway Bridges, which was a design code from 2002. This design code was accepted in legacy for quite a while, but modern designs follow the AASHTO LRFD Bridge Design Specifications, which calls for much more demanding designs for these types of structures.
In particular, the required wind loading has increased greatly in modern design codes, and fatigue requirements are much more stringent. Fatigue design seeks to size members and connections for repetitive and reversing loads, which require different considerations than regular strength design. Think of folding a paper clip over and over until it’s easy to break and you have a rough idea of fatigue loading.
As you might imagine, getting loaded cyclically with wind in varying directions makes highways sign structures very fatigue-sensitive. Due to this, the Federal Highway Association (FHWA) is requiring states to redo these standards, making them LFRD compliant.
Another factor to consider is that the desired size of these highway signs has gotten much larger over the last couple of decades, so more and more signs were larger than the maximum allowed in KYTC’s (Kentucky Transportation Cabinet) standard drawings, which necessitates a custom design.
The Two Jobs
Palmer Engineering was hired to do one of these custom designs on several over-size sign structures for a job along I-64/I-75 in Fayette County, and I got the opportunity to work on them. This ended up requiring completely custom design of 11 overhead sign structures.
When we began thinking about approaching this job, I was dreading the idea of creating slightly different finite element models (using SAP2000) with all of those small interconnected members (look closely at all those diagonals in the picture above). After that, we would have to open up and rerun each model and resize each member as needed through the initial design and through checking, adjusting wind loads on each member as its diameter changed.
This would have been doable manually, but it would have been rough. Fortunately, I had been experimenting with using Excel VBA to interact directly with SAP2000, using SAP’s “OAPI” (open application programming interface). Using this, along with CSi’s helpful documentation and examples, I had been able to create and run simple SAP models from scratch solely through use of an Excel sheet and the VBA code within.
I decided to take it up a notch and try this approach with these sign structures. With plenty of support from my coworkers, I was eventually able to automate most of the design process. Fortunately this made resizing members and making changes/corrections to the model relatively easy. We’ll discuss more of the specifics of this process in the next section, but we finished up these designs and I had some very cool new VBA experience. Here’s a gif of the Excel file generating one of the sign structure models.
Following the success of this project, KYTC hired Palmer to create an updated set of standard drawings for these sign structures for future use. As mentioned in the previous section, it is desirable to have new standards that are LRFD compliant (meet the requirements of the modern design code), and that allow for larger sign sizes than the previous standards. I was elated when we got this job, as we could approach this problem armed with the Excel VBA infrastructure I had made for use on the previous custom designs.
On the previous job designing the 11 custom overhead signs, I felt that it could have been done without any coding/automation in a reasonable time frame, but that the automation approach led to a faster and more fun job with changes and corrections being easier. However, I think this new job redesigning the standards could not have been done in any practical timeline without something similar to our VBA approach.
This required generating many models of varying spans with varying sign sizes and placements with varying column heights on foundations of varying heights. We used preliminary results to trim down the number of models as much as we felt was prudent, but even so, we ended up running 113 different SAP models.
Granted, if we were doing these manually, we might have been able to trim the number of cases down further, and creating some of the models would only require changing a sign location or something else trivial. However, when it comes time to change a member size or make a correction in so many models, I can’t imagine what it would do to the project timeline or cost.
We successfully completed this project in early February, and I found the job to be a very satisfying experience. We had the right tools for job, which I was proud to help create. In the next section, I will go over some more of the details in approach these jobs with VBA, and I’ll talk about the two jobs interchangeably.
VBA & SAP2000’s OAPI
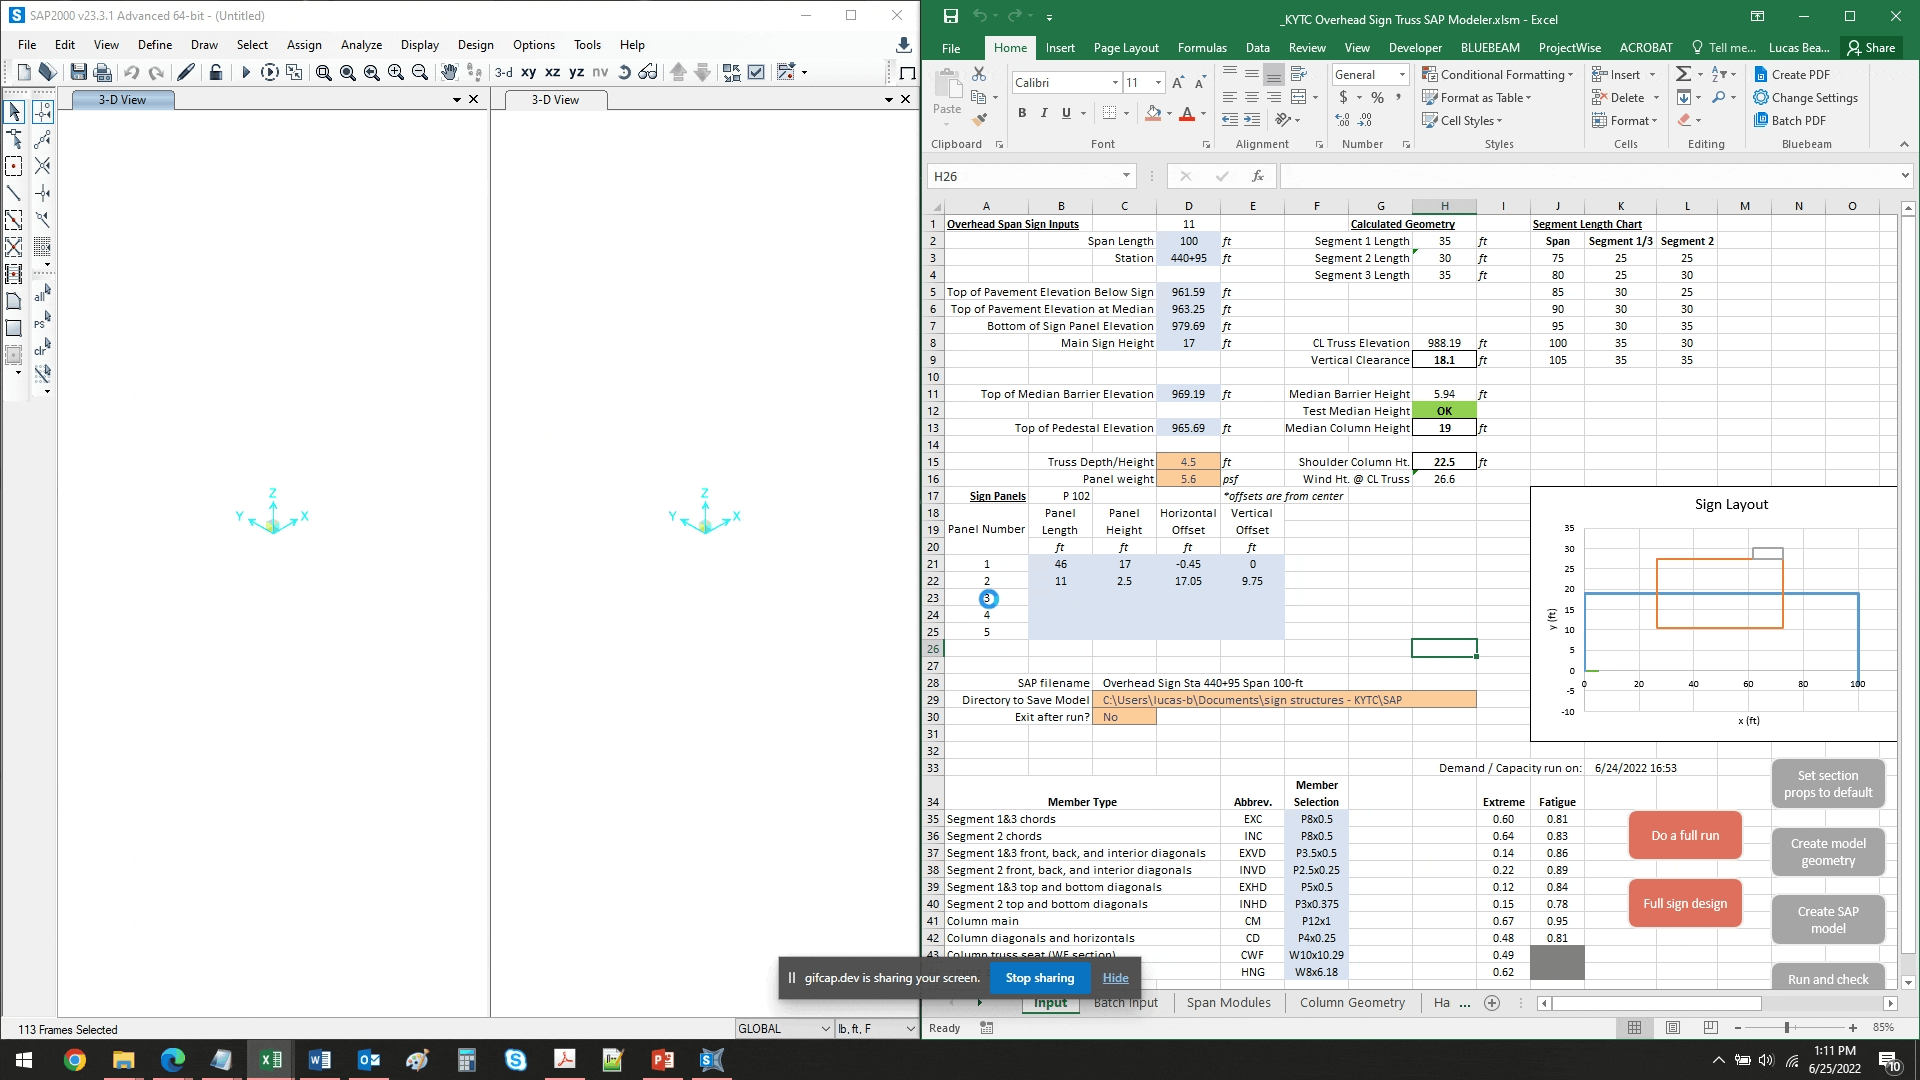
For the first step in approaching this problem programmatically, I wanted to make an input sheet where the user could input the necessary information for a sign, click run, and get the resulting performance ratios. That input sheet ended up looking something like this:

The general workflow of the VBA code we used in this process is outlined below:
- Generate start and end x y coordinates of all members.
- Collect member cross-section assignments.
- Calculate member loads for each load case.
- Create a new blank SAP model.
- Define materials, frame section properties, and load cases and combinations.
- Draw in frames, links, and supports.
- Assign frame loads.
- Assign member moment releases.
- Save and run SAP model.
- Output results into Excel sheet that calculates performance ratios for the members.
- Copy the controlling performance ratios to the input sheet for easy viewing.
This was quite a sheet and was more complicated than anything I’d done in VBA for work before. Stopping here would have made the project approachable. You would have one sheet for each sign, run it, and iterate member sizes until satisfied. But now that the groundwork had been laid, I decided we could build a few things on top of it.
First, I added a module of code to “design” the member sizes automatically. This starts with a member size that was too small, gets the SAP output, and pastes it into the design sheet that calculates performance ratios. The module then increases each member size one by one until the performance ratios are favorable, and then it reruns the model in order to take the redistribution of forces into account. This would often take two or three SAP runs to come to satisfactory results, but it would now happen automatically!
Finally, I added a “batch run” module on top of all of that, where you could create a “batch input file”, which contained the input data for multiple signs. This module loops through each input and either checks or automatically designs the members as desired. It was so satisfying to kick this thing off running before leaving work and coming back to see that the signs were designed.
As usual, I’ll say a quick word on QAQC. The most useful tactic I have used to make checking easy when working with VBA is just to save intermediate Excel files that demonstrate each design step your code is taking.
For instance, the sheet I had made thus far would save a unique SAP model for each sign structure as it was generated, and it would copy the member design excel sheet to a unique file name for each sign structure as well. This means checking is just the same as if a person had designed each structure manually. The input sheet, SAP file, and design file are all available to look at.
Automating Additional Tasks
While that concludes the general architecture behind the primary truss member design, I was also able to automate additional tasks within these projects.
The foundation design was automated by taking a spread footing design excel sheet we had made, and batch-feeding it the SAP base reaction results from all of the models. It would run those results through design sheet and pull out all of the controlling results so that we could design the foundations through a single input file. Of course, this code also generates and saves unique spread footing design Excel files for checking and printing later.
Speaking of printing, how the heck do we approach managing so many unique Excel files and getting them all printed to pdf? With VBA of course. I was able to add some code modules that would cycle through each sign structure, print the input files to pdf while adjusting the headers to be correct, print only the controlling member design results, and print the foundation results.
Even reducing the calc package to controlling members only and solely the sheets we felt were directly relevant in following the design, the final calcs pdf for the new standard drawings project ended up being about 1600 pages. Again VBA came to the rescue in organizing all of these individual pdfs into a single package. I used VBA to copy each individual pdf file into a new folder and then rename them with a numeric counter at the front. This makes combining them into a single pdf a breeze, as it will all be in the correct order.
With all this infrastructure built for the project, when it came time to resubmit the final calcs with minor revisions, I was able to rerun the analyses and print all the calcs in a few hours.
Conclusion
This was an extremely rewarding project that pushed my VBA abilities to a new level. It’s fun to see how slowly accruing more and more experience, one new thing at a time, eventually leads to a project more complex than you originally thought was possible. Learning the basics of VBA during my Master’s degree years ago, and tinkering with SAP’s OAPI several months ago were the basic building blocks that eventually turned into this. And now I catch myself rubbernecking at sign structures in each state we drive through on vacations! Also wanted to give a shoutout and thank you to Ryan and Nicolo for their instrumental help pushing this project along.